2026 Top Types of Concealer Application Brushes?
Table of Contents
- Concealer Brush Basics and Their Role in Modern Makeup
- Main Types of Concealer Brushes and Their Distinct Shapes
- How to Match Brush Design with Different Concealer Formulas
- Step-by-Step Techniques for Applying Concealer with Each Brush Type
- Choosing the Best Concealer Brush for Coverage, Precision, and Skin Type
- FAQS
- Conclusion
- Related Posts
The 2026 beauty landscape is becoming more precise, practical, and tool-focused. Consumers now expect concealer to cover redness, soften shadows, and remain skin-like under strong lighting. Circana reported that U.S. prestige beauty sales grew 8% in 2024, showing continued demand for premium complexion products. McKinsey also projects the global beauty market could reach approximately $590 billion by 2028. These figures support closer attention to the tools behind everyday makeup application.
Concealer Application Brushes deserve that attention. A small flat brush can place dense pigment beside the nose. A rounded buffing brush can soften edges across the cheek. A tapered detail brush may reach inner-corner shadows without disturbing foundation. Rae Morris, the Australian makeup artist and brush designer, has described a brush as “an extension of your hand.” That idea remains useful in 2026, especially as brands develop synthetic fibers, flexible ferrules, and more targeted shapes.
Still, the categories are not perfect. Many reports measure cosmetics broadly, rather than concealer brushes alone. Results also change with formula texture, skin moisture, pressure, and cleaning habits. A brush that performs beautifully with cream concealer may drag through a dry matte formula. Small details matter. So does user experience. This guide examines the top types of Concealer Application Brushes for 2026, comparing their shapes, fiber behavior, coverage control, and practical limitations. The goal is not to promise a flawless finish. It is to identify which tool performs best, and when it may fail.
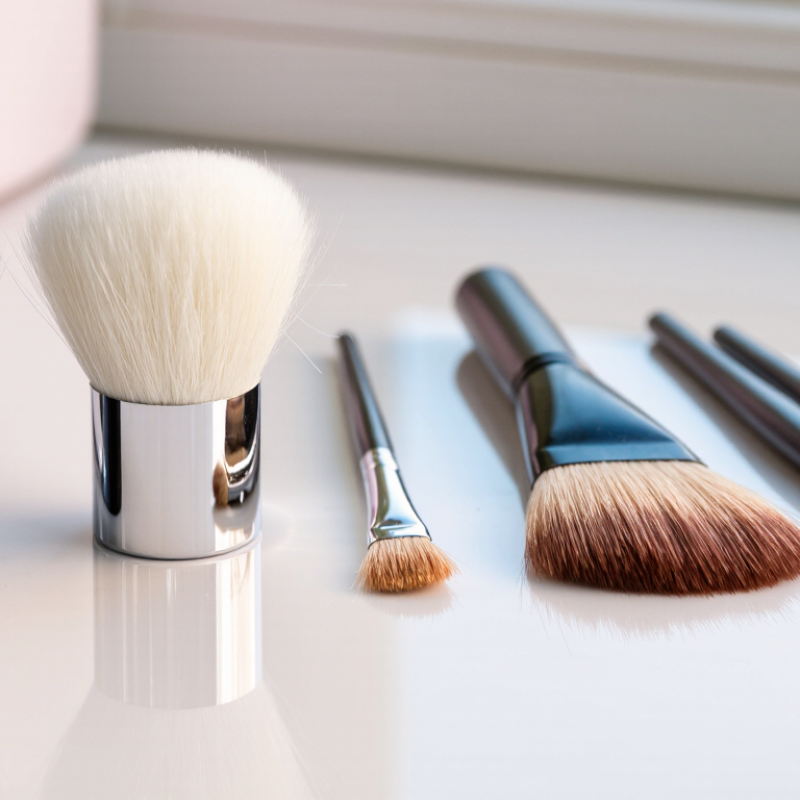
Concealer Brush Basics and Their Role in Modern Makeup
Concealer brushes are becoming more specialized in 2026, yet their basic purpose remains simple: place, blend, and refine coverage. A small flat brush delivers product precisely around the nose and inner eye. A rounded buffing brush softens edges across the cheeks. An angled brush can trace blemishes or define the brow bone. Each shape changes how much pressure the skin receives.
In my makeup work, brush control matters more than brush size. I use a firm synthetic brush for targeted coverage, then switch to a softer, tapered brush for thin blending. Short strokes prevent the concealer from gathering in fine lines. A dampened sponge can finish the surface, but it may reduce coverage. That trade-off is easy to miss.
Clean tools are part of professional technique, not an optional detail. I wash concealer brushes regularly and dry them with the bristles facing downward. This protects the handle and limits moisture near the ferrule. I also check for rough fibers before applying product near the eyes. Small details matter.
Modern makeup favors flexible coverage and visible skin texture. Brushes support that goal by controlling layers instead of masking the whole face. Still, I sometimes overblend and remove too much coverage. That mistake reminds me to pause earlier. The best brush is not always the softest one. It is the one that matches the formula, area, and pressure.
Main Types of Concealer Brushes and Their Distinct Shapes
2026 Top Types of Concealer Application Brushes?
Main Types of Concealer Brushes and Their Distinct Shapes
A flat paddle brush has a thin, straight edge and a compact surface. It works well for placing concealer beneath the eyes or around the nose. The shape gives controlled coverage without immediately spreading too much product. I usually warm the concealer on my hand first. This reduces streaks on dry skin.
A tapered brush narrows toward a pointed tip. Its shape reaches inner eye corners, blemishes, and narrow facial folds. A rounded dome brush has softer edges and blends concealer in small circular motions. It suits medium coverage and creates less obvious borders. An angled brush follows the brow bone and cheek contours. Its slanted edge can sharpen makeup placement, though it may leave marks with thick formulas.
Small detail brushes are useful for tiny spots. Their narrow heads preserve precision. However, precision can become overworking. I sometimes blend a blemish too much and remove the coverage I wanted. A slightly damp, clean brush may soften that mistake. Brush density also matters: firm bristles place product, while flexible bristles diffuse it. Clean each brush regularly, especially after covering active skin concerns. A neglected brush can move oil and residue across the face. Shapes help, but pressure and product amount still decide the final finish.
Concealer brushes are commonly distinguished by head shape and size. Flat and rounded brushes generally cover larger areas, while pointed and angled shapes provide greater precision for blemishes, inner corners, and contouring. The dimensions shown are typical approximate brush-head widths and can vary by tool design.
How to Match Brush Design with Different Concealer Formulas
Choosing a concealer brush starts with the formula, not the trend. A dense, rounded brush suits thick cream concealer. It presses pigment onto blemishes without dragging dry skin. A small flat brush works better for precise spot coverage around the nose.
Liquid concealer needs a different touch. Use a flexible, tapered brush with soft synthetic fibers. Its pointed edge reaches the inner corner and lower lash line. A slightly damp, rounded brush can diffuse a thin liquid layer. Keep pressure light. Heavy buffing may remove coverage before it settles.
Circana reported that U.S. prestige makeup sales grew 7% in 2023, showing continued demand for refined complexion products. Grand View Research valued the global cosmetics market at about 446.2 billion dollars in 2023. These figures suggest more formula choices, not one universal brush. My practical rule is simple: match stiffness to thickness and shape to placement.
For serum-like concealer, choose a loose, elongated brush. It spreads a sheer veil across larger areas. For stick formulas, select a short, firm brush with a compact head. Warm the product on the back of your hand first. I still sometimes choose too much density under the eyes. That mistake creates texture quickly. Test one side of the face, then compare it in natural window light.
Step-by-Step Techniques for Applying Concealer with Each Brush Type
For 2026, concealer brushes are becoming more specialized, but technique still matters most. Start with clean, moisturized skin. Let the moisturizer settle for one minute. Use a flat paddle brush for blemishes and broad discoloration. Pick up a small amount of concealer, then press it directly onto the center of the mark. Tap outward without dragging. Add a second thin layer only where redness remains.
A pointed precision brush works well around the nose, inner eye corner, and individual spots. Place the tip carefully, deposit a tiny dot, and soften the edges with short tapping motions. For under-eye concealer, use a small rounded brush. Begin near the inner corner, then sweep gently toward the outer corner. Keep the product below the lower lash line to avoid emphasizing fine lines. An angled brush can reach curved areas, such as the sides of the nose. Use its narrow edge and press in short sections.
Finish with a small fluffy blending brush for transitions between concealer and foundation. Bounce it lightly, especially over dry patches. Do not keep blending until all coverage disappears. That mistake is easy to make. I still overblend sometimes when the finish looks uneven. A clean fingertip can rescue the area with gentle warmth, but washing hands first is essential. Clean each brush regularly, and let it dry fully before storage. Observe the result in natural light, since indoor lighting can hide creasing or missed edges.
Choosing the Best Concealer Brush for Coverage, Precision, and Skin Type
The right concealer brush changes how coverage looks and feels. A flat, dense brush spreads product across dark circles and redness with controlled pressure. A small tapered brush reaches inner corners, blemishes, and narrow areas beside the nose. For soft, natural coverage, try a rounded buffing brush. Its short bristles blend edges without leaving obvious lines.
Your skin type also matters. Dry skin often looks better with a flexible synthetic brush and light tapping motions. Avoid dragging, especially around textured areas. Oily skin may need a denser brush to press concealer into the surface. I have found that thinner layers usually last longer, although this is not always perfect. A brush can improve control, but it cannot replace suitable skincare or a well-matched concealer texture.
Tips: Warm a small amount on your hand first. Use the smallest brush that fits the area. Tap, then pause and check the coverage in natural light. Wash brushes regularly, especially when working near the eyes or active blemishes. A clean brush reduces buildup and helps prevent uneven application. If the finish looks heavy, remove excess product before adding more. Some mistakes happen because we rush.
FAQS
Its thin, straight edge places controlled coverage beneath the eyes and around the nose. Warm the product on your hand first. This can reduce streaks on dry skin.
Use it for inner eye corners, blemishes, and narrow folds beside the nose. Its pointed tip reaches small areas accurately. Keep pressure gentle.
It blends concealer with small circular motions. The softer edges create medium coverage with fewer visible borders. It suits natural-looking finishes.
Choose a dense, rounded brush with firm bristles. It presses pigment onto blemishes without dragging dry skin. Too much pressure may create texture.
Use a flexible, tapered brush for liquid formulas. A loose, elongated brush spreads serum-like concealer across larger areas. Light pressure matters.
Try a flexible synthetic brush and tap gently. Avoid dragging across dry patches or uneven areas. Pause before adding more product.
A denser brush can press concealer more firmly onto the surface. Apply a thin layer near the nose and under the eyes. Thinner layers often wear better.
Place a small amount, then stop and inspect the area. I sometimes blend too much and remove the coverage I wanted. A clean, slightly damp brush may soften the mistake.
Clean them regularly, especially after use near the eyes or active blemishes. Residue can move oil across the face. Clean tools matter.
Test one side of your face, then compare both sides near a window. Remove excess product before adding more. Some rushed choices still need reconsideration.
Conclusion
In 2026, Concealer Application Brushes remain essential tools for achieving smooth, controlled, and natural-looking makeup. This guide introduces the basics of concealer brushes and explains how their size, shape, density, and edge design influence application. From flat and angled brushes to rounded, tapered, and precision tips, each style serves a different purpose, whether covering blemishes, brightening the under-eye area, blending around the nose, or creating targeted corrections.
The guide also explains how to match brush designs with liquid, cream, stick, and thicker concealer formulas. Step-by-step techniques show how to apply, layer, stipple, blend, and soften coverage without creating a heavy appearance. Finally, it helps readers choose the best brush according to their desired coverage, application precision, skin type, and personal makeup routine, making it easier to build an efficient and polished concealer application process.

Blog Tags: